 Computers: HTML: Words
 Computers: HTML: Words
In the previous stage, you created the simplest possible web page:
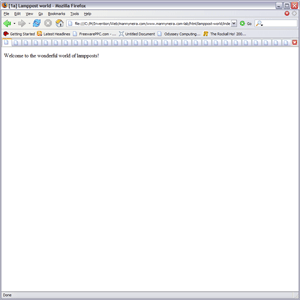 Stage 1a: A basic pageindex.html (1a): Click to see the page, or the code.
 This already contains a paragraph of text, between the
 <p> and </p> tags: and most of your text will be added in paragraphs like this.
If you ever want to start a new line without starting a new paragraph, use the tag <br> to break the line. For instance, if quoting song lyrics, you might choose to use make each verse a paragraph, broken into lines. This...
<p>Imagine all the people<br>Living life in peace.</p>
...will be displayed...
Imagine all the people
Living life in peace.
 If you wish to emphasise some of the words in a paragraph, just put those words between
 <em> and </em>. To make words strong, use <strong> and </strong>. For instance: the line...
<p>I want my <em>teddy bear</em> and I want it <strong>now</strong>.</p>
...will be displayed...
I want my teddy bear and I want it now.
Usually, browsers will show emphasised words in italics, and strong words in bold, but this is actually up to you. Later in this course you will discover how to control the exact way in which tags are displayed.
 To add headings, there is a range of tags, from
 <h1> for main headings, to <h2> for subheadings, all the way down to <h6> for subsubsubsubsubheadings.
You can use these in any way you like, but it will help to keep your pages tidy if you adopt a consistent scheme. Personally, I use a single <h1> heading to provide a main heading for the page, and then <h2> subheadings to break it into sections. If absolutely necessary, I sometimes use <h3> subsubheadings to break up a long section, but this doesn't happen often. To be honest, web pages are not meant to be very long. If you find yourself writing a page so long that it requires complicated multi-level headings, then consider breaking it up into separate pages.
To see what a subheading looks like, reopen the file index.html in your text editor and add the following lines after the line <p>Welcome to the wonderful world of lampposts!</p>, and before the line </body>.
    <h2>What is a lamppost?</h2>

    <p>In its simplest form, a lampost is simply a vertical support or <em>post</em>, topped by a light emitting device, or <em>lamp</em>.</p>
Now resave the file and open it in your browser.
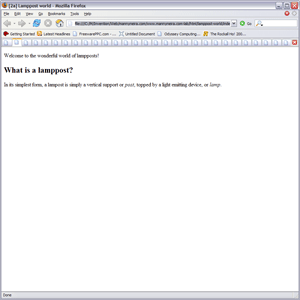 Stage 2a: A new subheading and textindex.html (2a): Click to see the page, or the code.
 The subheading is clear enough, but it looks a little strange because the page still has no main heading!
Edit index.html once again. After the line <body> add:
<h1>Lamppost world</h1>
Now reopen the file in your browser.
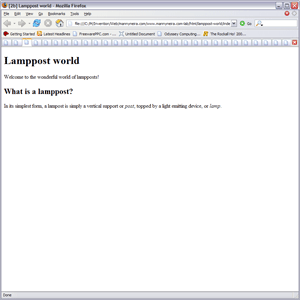 Stage 2b: A new main headingindex.html (2b): Click to see the page, or the code.
 What this page still needs, though, is a little bit of soul, a little bit of poetry, and nothing opens a page more elegantly than a heartwarming quote or motto.
After the line <h1>Lamppost world</h1> add:
<div id="motto">

<p>Dedicated to the beauty of lampposts</p>

<p>"I think that I shall never see - a poem lovely as a lamppost."

<br>(adapted from Joyce Kilmer)</p>

</div>
These lines contain a tag you haven't seen before: <div id="motto">.
<div> is short for division: and any part of your web page can be made into a division by putting <div> and </div> around it. Just creating divisions like this doesn't actually change the way the page is displayed, but it can act as reminder to you of your overall plan for the page: and what you plan to put where.
This works especially well if you give the division a name or id. You can use any name you like: id="motto" means that this particular <div> tag has an id of "motto": in other words, you have created a division into which you are going to put the motto for the page.
id is called an attribute, and you can actually give any tag an id attribute in the same way. There are lots of attributes in HTML: some you can add to any tag, and some only make sense with particular tags. You'll encounter a few more as you go through this course.
In later stages, when you learn how to apply styles, colours, and positioning to your pages, you will also find that tags given a unique id attribute can more easily be singled out for special formatting: but using <div> tags to document your page's structure is a good idea whether you plan to take advantage of this special formatting or not.
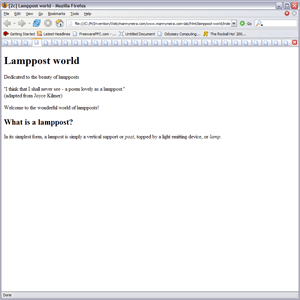 Stage 2c: The mottosindex.html (2c): Click to see the page, or the code.
Now, turn to 3 Pictures to find out how to illustrate your pages.